Chicken breast often gets a bad rap for being dry and bland, but it’s really about how you prepare it. I started experimenting with quick marinations and searing techniques that lock in moisture and add flavor. Now, it’s my go-to for speedy weeknight dinners or a protein boost in salads. This particular method is a little unconventional, but it results in juicy, flavorful slices that make you forget about dry bites.
Why I Keep Coming Back to This Chicken
It’s reliable, quick, and always juicy. The flavor punch from a simple sear makes me smile every time. Plus, it’s versatile enough to serve hot or cold, in salads or as a main. That juicy bite, the crisp exterior—once you get it right, you keep chasing that perfect sear.
Ingredients & Why They Matter
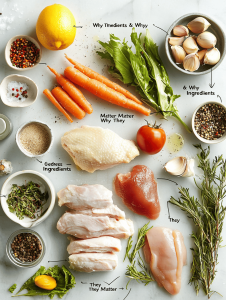
- Chicken breast: Lean, tender, and quick to cook, but easy to dry out if overcooked.
- Olive oil: Helps sear the chicken for a crispy exterior and adds richness.
- Lemon zest: Brightens the flavor, balancing richness and adding a fresh note.
- Garlic: Infuses savory depth, essential for flavor layering.
- Smoked paprika: Lends a smoky aroma and color, making the dish more complex.
- Salt & pepper: Fundamental for seasoning, enhances natural flavors.
- Optional herbs (thyme, parsley): Fresh herbs lift the dish, adding a fragrant finish.
Tools & Equipment for Perfect Chicken Breast
- Heavy-bottomed skillet: Provides even heat for a good sear and prevents hot spots.
- Meat thermometer: Ensures accurate internal temperature to avoid over or undercooking.
- Pounding mallet or rolling pin: Helps even out the thickness for uniform cooking.
- Tongs: For flipping the chicken without piercing and losing juices.
- Cutting board: Provides a stable surface for slicing after resting.
Step-by-step Juicy Chicken Breast Mastery
Step 1: Start by pounding the chicken breast to an even thickness, about 1.5 cm (0.6 inches).
Step 2: In a bowl, mix olive oil, lemon zest, garlic, and a pinch of smoked paprika.
Step 3: Heat a skillet over medium-high heat until shimmering, about 2 minutes.
Step 4: Add the chicken and sear for 4-5 minutes per side, until golden and slightly charred.
Step 5: Check the internal temperature—aim for 75°C (165°F).
Step 6: Let it rest for 5 minutes before slicing to keep juices in.
Cooking Checkpoints & Tips for Juicy, Perfect Chicken
- Look for a golden crust—if it’s pale, bump up the heat slightly.
- Use a meat thermometer to avoid overcooking—75°C (165°F) is the sweet spot.
- Juices should run clear when you pierce the thickest part—no pink or blood.
- The chicken should feel firm but springy—avoid rubbery or mushy textures.
Common Mistakes & How to Fix Them
- Cooking without checking temperature.? Use a meat thermometer—overcooked chicken is dry and tough.
- Cutting into the chicken immediately after cooking.? Rest the chicken for 5 minutes—cuts prevent juices from escaping.
- Adding cold chicken directly to a lukewarm pan.? Ensure the pan is hot before adding chicken—avoid soggy, pale crust.
- Cooking on too high heat causing burnt exterior.? Adjust heat if chicken browns too quickly—lower it to prevent burning.
Juicy Seared Chicken Breast
Ingredients
Equipment
Method
- Place the chicken breasts on a cutting board and pound them to an even thickness of about 1.5 cm using a mallet or rolling pin. This helps the chicken cook evenly and stay juicy.
- In a small bowl, whisk together olive oil, lemon zest, minced garlic, and smoked paprika, creating a fragrant marinade.
- Brush the marinade generously over both sides of each chicken breast, ensuring they are well coated. Let them sit for a few minutes to absorb the flavors.
- Heat a heavy-bottomed skillet over medium-high heat until it starts shimmering and you see a slight haze. This ensures a good sear.
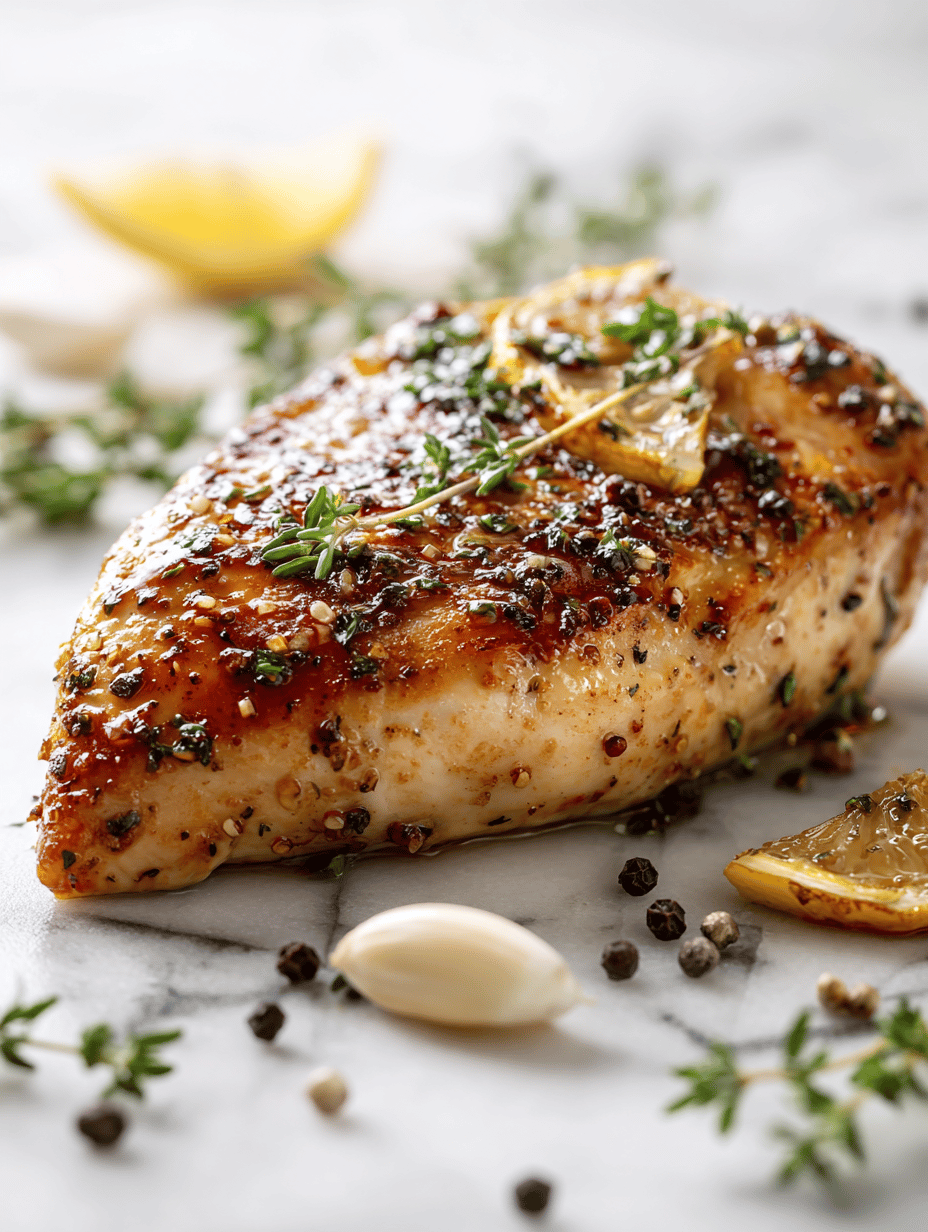
- Add the chicken breasts to the hot skillet, laying them away from you to avoid splatters. Sear for 4-5 minutes without moving, until the underside develops a golden, slightly charred crust.
- Flip the chicken breasts using tongs and sear the other side for another 4-5 minutes, until the crust is golden and the chicken is cooked through.
- Use a meat thermometer to check the internal temperature; it should read 75°C (165°F). Once reached, remove the chicken from the skillet.
- Transfer the chicken to a cutting board and let it rest for 5 minutes. This step helps the juices redistribute, keeping the meat moist.
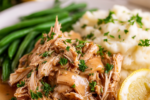
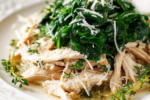
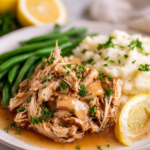
- Slice the rested chicken into thick, juicy strips, revealing the tender interior and crispy exterior.
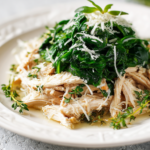
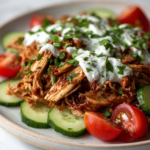
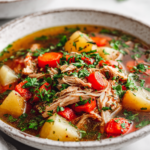
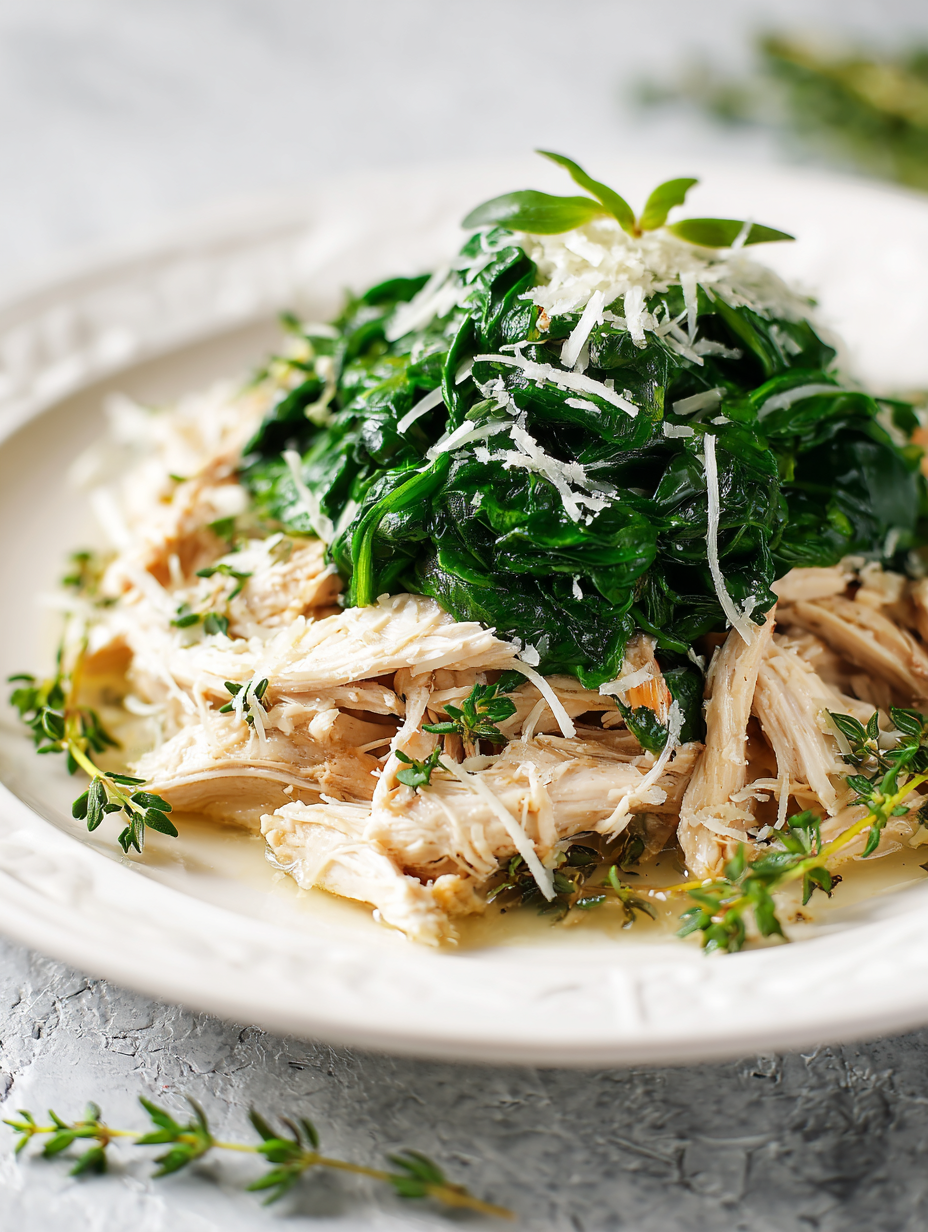
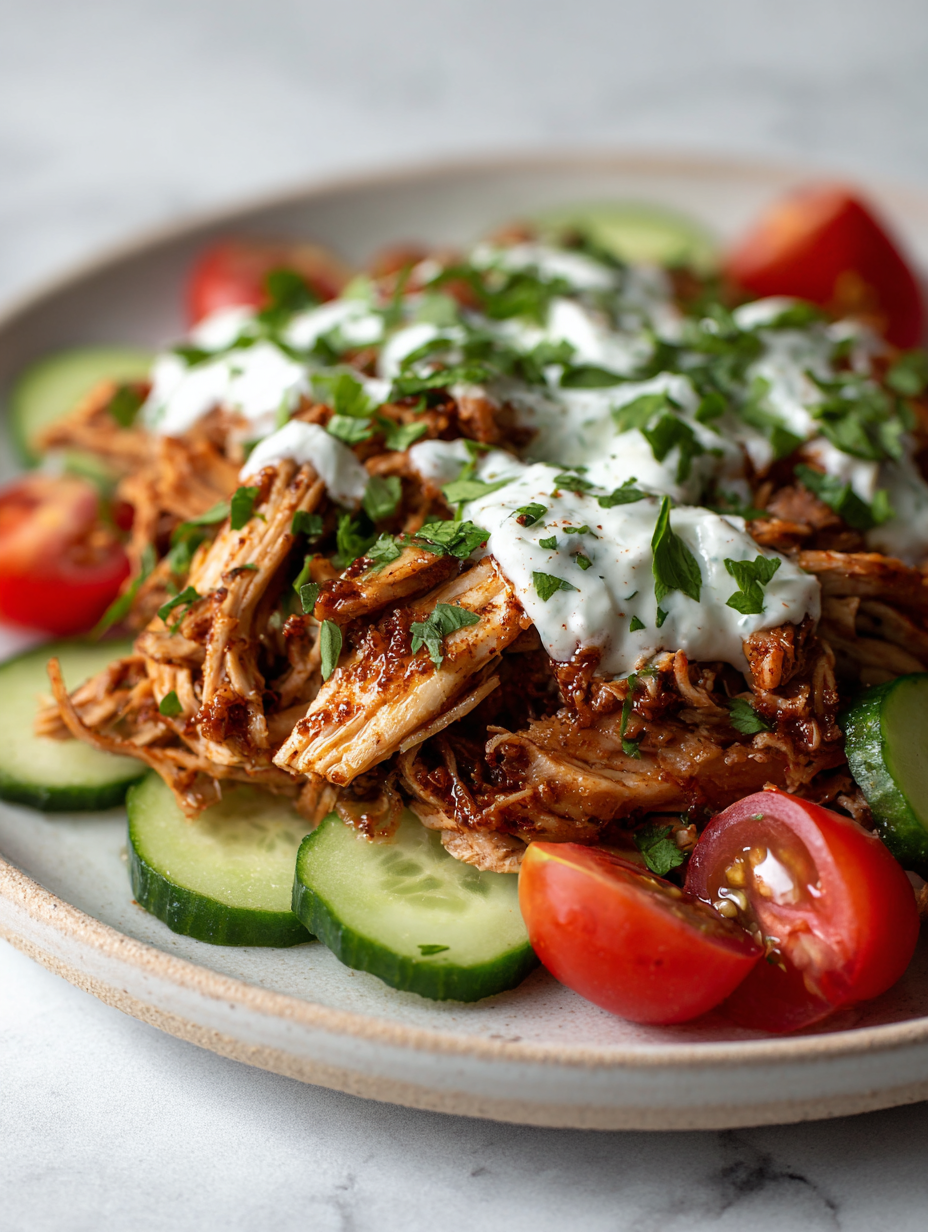
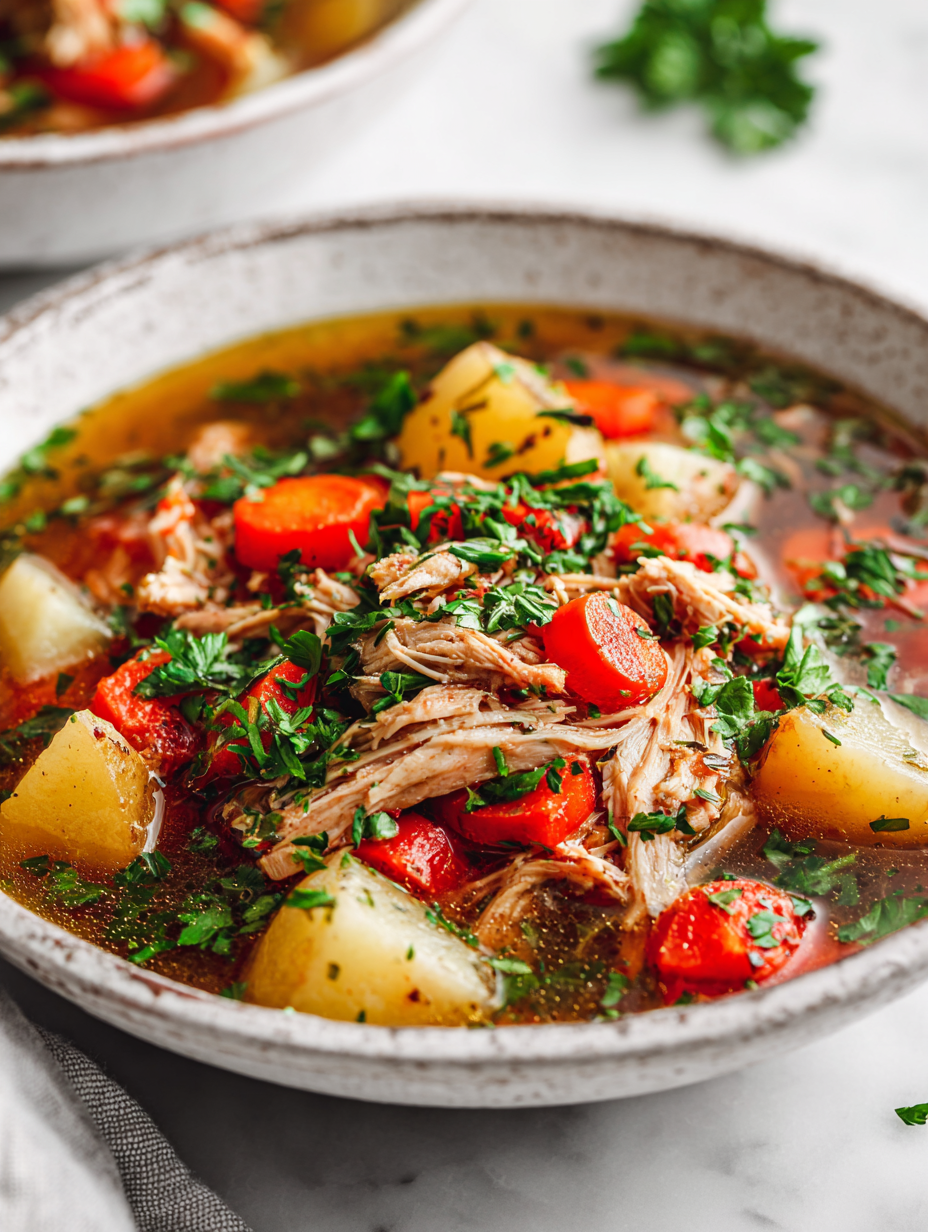
- Garnish with fresh herbs if desired, and serve hot or cold in salads or as a main dish. Enjoy that perfect sear and juicy bite!
Notes


Hi, I’m Mason Harper, the voice and heart behind Rooting in Freshness. I’m so glad you’re here. This space was born from my love for seasonal ingredients, simple cooking, and the belief that food tastes better when it’s grown, chosen, and prepared with intention. Rooting in Freshness is more than a food blog to me. It is a reflection of how I live, cook, and connect with the world around me.


Leave a Reply